Avalonian High Priestess Boss Guide
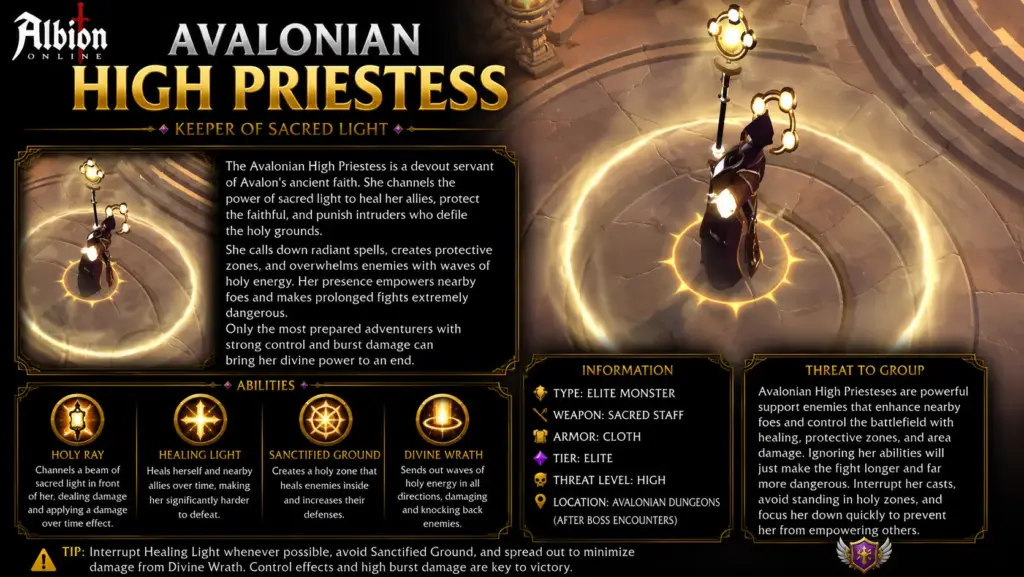
The Avalonian High Priestess fight is built around healing reduction, shadow management and controlled add killing. The fight starts with a room-wide knockdown that applies a heavy healing-related debuff, so the party must understand where healing is possible and how to manage the spawned shadows.
This boss is less about raw damage and more about organization. If the party mishandles shadows, stacks or positioning, the fight can become messy very quickly.
Main Strategy for Avalonian High Priestess
At the beginning of the fight, the boss knocks everyone down and applies a major healing debuff that persists through the fight. After players get up, everyone should move into the Divine Offering healing circle to trigger the intended shadow spawns and reduce the boss’s stack advantage.
The main tank stays on the boss, while the CC Tank handles shadow control with support from Arcane and other utility roles.
Divine Offering Healing Circle
The Divine Offering circle is central to the fight. Standing outside this circle applies a massive healing reduction, which makes healing extremely weak.
Healers should remain inside the Divine Offering whenever possible. If healers stand outside the circle, their healing output becomes almost useless.
Shadow Spawns
The boss spawns shadows based on players inside the Divine Offering area. If players fail to stand inside correctly, the boss gains stacks that increase her damage and healing.
The party should intentionally spawn the shadows and then manage them in a controlled way. This reduces the boss’s advantage and gives the group a clear path through the fight.
How to Manage Shadows
The CC Tank should keep the shadows controlled and separated from the main boss group. The Great Arcane and other control roles can help rotate crowd control on the shadows.
The party should kill shadows one at a time. A support or assigned player can pull one shadow away from the controlled group, allowing DPS to burst it down safely.
Players should avoid dragging separated shadows back into the main shadow pack. If shadows reconnect or overlap poorly, they may heal or become harder to finish, wasting time and creating extra danger.
Suggested Role Responsibilities
- Main Tank: hold the boss and keep her stable.
- CC Tank: control and kite the shadow group.
- Great Arcane / Arcane support: help rotate control on shadows.
- Realmbreaker or assigned support: pick individual shadows for the DPS group.
- DPS players: burst the selected shadow, not the entire pack randomly.
- Healers: stay inside Divine Offering and support both tank and shadow-control players.
Shadow Mechanics
Swap
A shadow can swap positions with nearby players, similar to displacement-style footwear mechanics. This can disrupt positioning if players stand too close or move carelessly.
AoE Under Shadow
Shadows can drop AoE beneath themselves. This area deals ticking damage, so the party should not stack unnecessarily inside shadow ground effects.
Pulse Phase
When all shadows die, the boss may knock players down and begin dealing heavy damage to the entire party. This does not always happen in the same way, especially if the group has enough damage to finish the boss quickly, but the party should be prepared.
When this burst starts, everyone should clump inside the current Divine Offering and use defensive tools. Cleanses, Judicator Armor, damage reduction, Enigmatic support and healing resets can all help the group survive.
Common High Priestess Mistakes
- Healers standing outside Divine Offering and losing healing output.
- Failing to spawn or manage shadows correctly.
- Dragging separated shadows back into the main shadow group.
- DPS attacking random shadows instead of the assigned target.
- Ignoring the final burst after shadows die.
- Not supporting the CC Tank while they control the shadow pack.
High Priestess Caller Checklist
- Tell everyone to enter Divine Offering after the opening knockdown.
- Assign the CC Tank to manage shadows.
- Assign who pulls individual shadows for DPS.
- Tell DPS to focus only the selected shadow.
- Warn healers to stay inside the healing circle.
- Call full defensive support if the Pulse damage begins.